Product Description
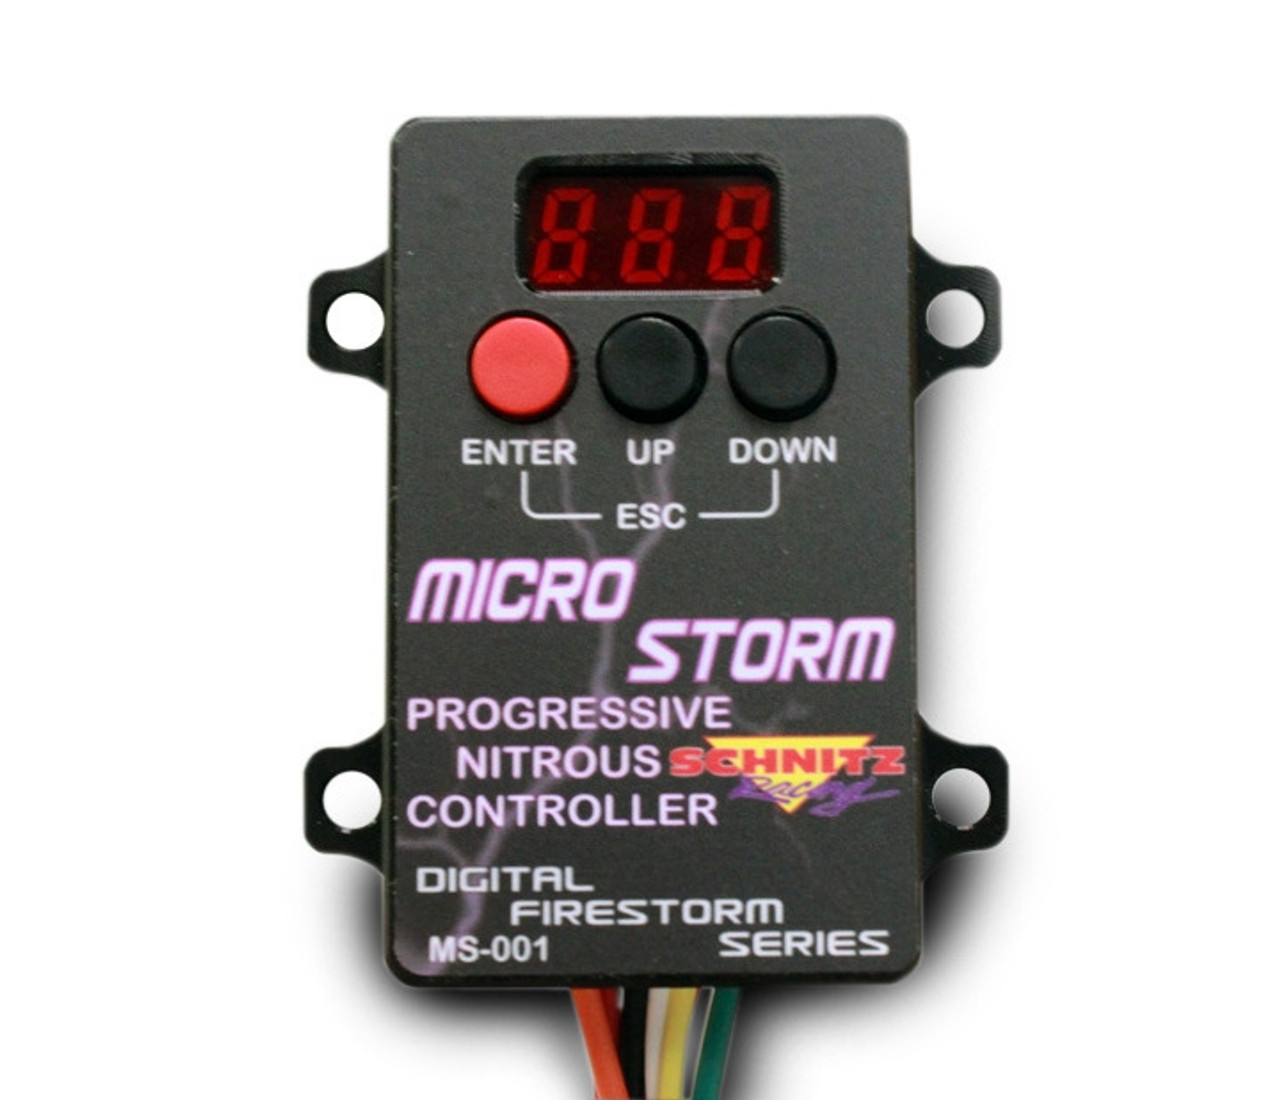
The Micro Storm progressive nitrous controller provides control for 2 stages of nitrous in an extremely small package of just 2 7/8" x 1 3/4" x 3/4".
The billet aluminum enclosure is anodized black with a 3 digit display and 3 high quality push buttons for easy programming and navigation through the setup menu. The Micro Storm can handle 40 amps on each stage of nitrous so this tiny controller can be used with any nitrous solenoids on the market including Pulsoids, NX, NOS, Edelbrock, MPS, Dynotune and others. Additionally each stage of nitrous can be programmed from 10-40 hertz and have a dual ramp to give you even more control of power down slippery tracks or to prevent those monster 1/8th mile or 3rd gear wheelies.
This little jewel also has a TPS (throttle position) input and tach input for easy wiring on any vehicle. A shift light output is also provided but can be configured for use as a timer output to activate a stage of ignition retard.
One of the best features of the Micro Storm is its ability to store up to 5 different nitrous configurations that you have programmed. This is perfect for those who run in multiple classes that need more or less power to run their number.
Highlights:
- Billet aluminum black anodized enclosure with high quality push buttons for programming
- Easy to read digital display
- Controls 2 stages of wet and/or dry nitrous
- Each stage can have its own hertz setting of 10-40 (cycles per second)
- Dual ramp mode for each stage for more precise control
- TPS and tach input for easy wiring and safety
- Easy quick setup for TPS input
- Shift light or timer output
- Compact Size (2 7/8" x 1 3/4" x 3/4")
For those who are looking for a simple to use controller with a bucket load of features your search ends here.
How to test the MS-001 right out of the box - Connect ground wire to ground. Red wire to +12 volt supply. Green and/or Orange solenoid ground wires to the nitrous solenoids. (Other wire of the solenoid will connect to +12 volt supply) To activate the MS-001, send a +12 volt signal to the yellow WOT/TPS input wire. You should see a timer start counting down and the nitrous solenoid(s) start to chatter. The default settings in the MS-001 controller will allow this test to function properly.
How to test the MS-001 after installation - So, you've installed the MS-001 on your vehicle and you'd like to do a "dry run" with it to make sure the solenoids are working properly. All you need to do is power up the controller and the motorcycle ignition. The engine does not need to be running because the MS-001 will ignore the RPM settings if no tach signal is present.
Roll the throttle open (or push your nitrous activation switch). You should see a timer start counting down and the nitrous solenoid(s) start to chatter. If you have a delay programmed, the solenoids will start to chatter after the delay time. The timer is only displayed to let you know the controller is activated. This timer is the Main timer and limits the total amount of time the solenoids can be on. (setting 11)
What if I can not get the MS-001 to activate? - First, make sure you have setting 12 programmed for your application. A setting of "0" for 12 volt activation, or a setting of "1" for TPS voltage for activation.
If you are using TPS for activation, be sure to set the TPS closed voltage, TPS open voltage and TPS percentage for activation. These are settings 13, 14 and 15. You can use the Live Data Mode to assist with these settings (Bottom of Page 4 of the installation manual)
Important — if the voltage span between closed throttle and wide open throttle settings is less than 2.50 volts an error code will be set. This code will be displayed on the ready screen as “er1”. To correct this error program the TPS parameters again and insure a span of at least 2.50 volts.
I can dry test the system, but it does not come on down the track. - Check your Tach Input setting (Setting 19) and tach signal wire connection. You can use the Live Data Mode to assist with these settings (Bottom of Page 4 of the installation manual) We recommend a crimp connection onto a negative coil wire or tach output wire from the ECU.
Product Videos
Videos Hide Videos Show Videos
Custom Field
Product Reviews
3 Reviews Hide Reviews Show Reviews
-
Micro storm nitros controller
I like it
-
Awesome
I have this and it is so easy to use and works great !!! It does everything I need to do plus some.
-
One BAD Nitrous Controller!!!
This is one bad nitrous controller. It's easy and simple after you learn all the steps. Anybody can set this one up easy. I highly recommend this controller to anyone that is wanting an easy way to control their nitrous application.


